It’s that time of year when we all seem to have extra candy lying around. Instead of eating it all (or sending it to work with dad) why not use some of it to experiment with?! We’ve always loved “playing” with our extra candy from Halloween so use these experiments as a starting point. From there, let the kids continue on their own and come up with their own versions of the experiments. Sometimes the best learning comes from open ended exploring!
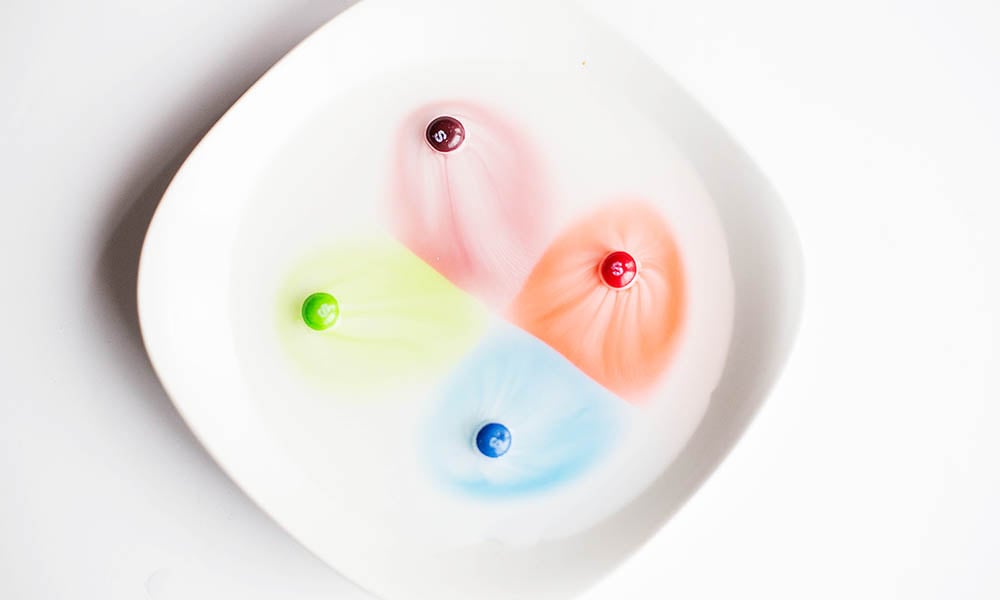
One of our favorite and most colorful experiments involves Skittles and some water. Add a bit of water to a plate and place a few Skittles around the plate.

You can watch the color start to dissolve from the candy and go into the water.

It’s fun to watch more of the color fill the water.
If you leave it long enough without disturbing the plate the “s” from the Skittle will float to the top of the water, unlike the Skittle which sinks.
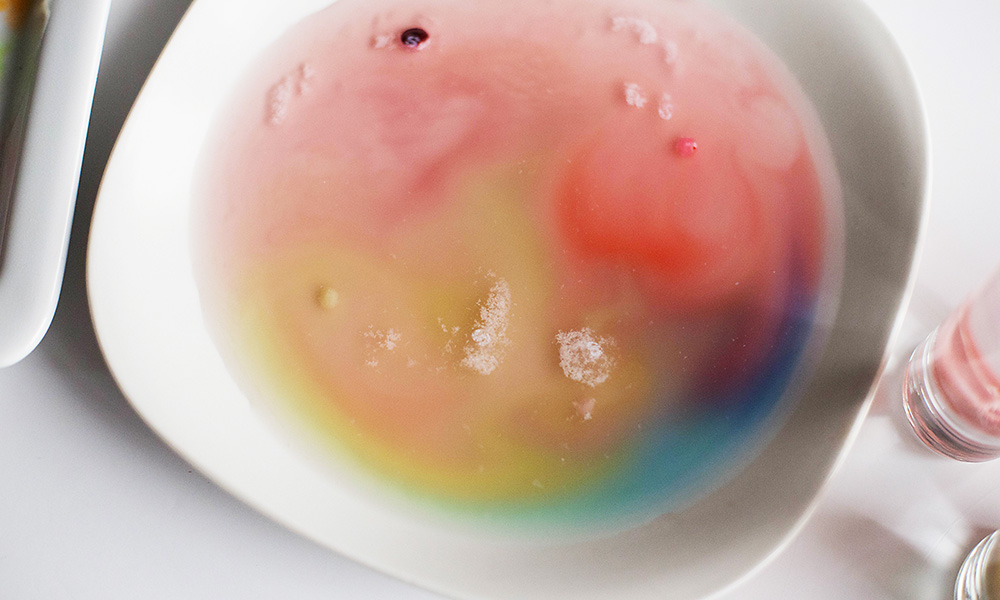
While the candy shell dissolves, the edible paper that the S is created out of doesn’t and instead floats to the top.
You can take this experiment a step farther and try out some chromatography (a technique used to separate different parts of a solution) if you have older kids. Using the ink in the water try this experiment out.
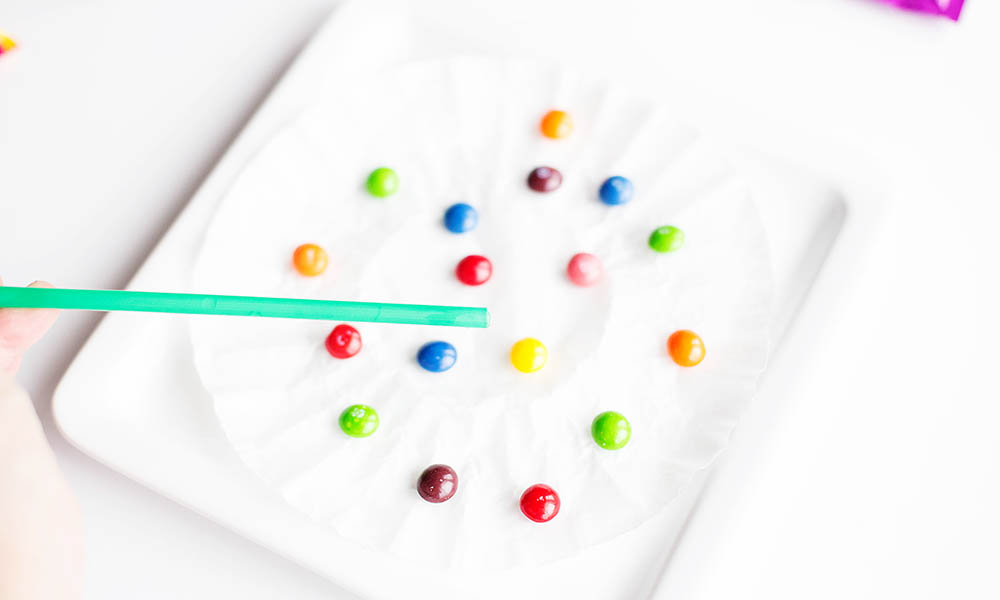
Another way to use the Skittles to add a little art fun into the science is to place a coffee filter on a plate, add Skittles and then a few drops of water using a straw.
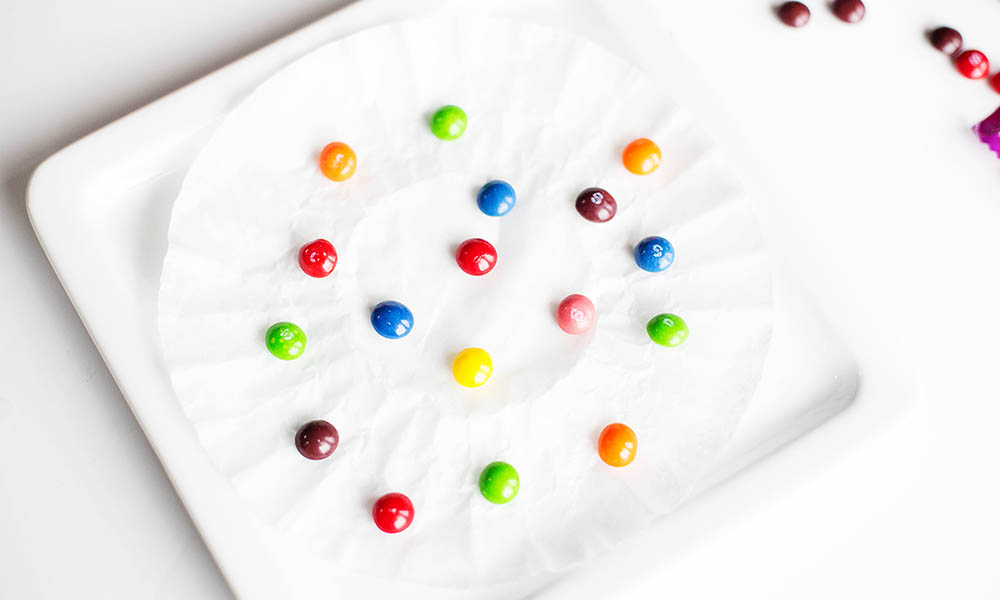
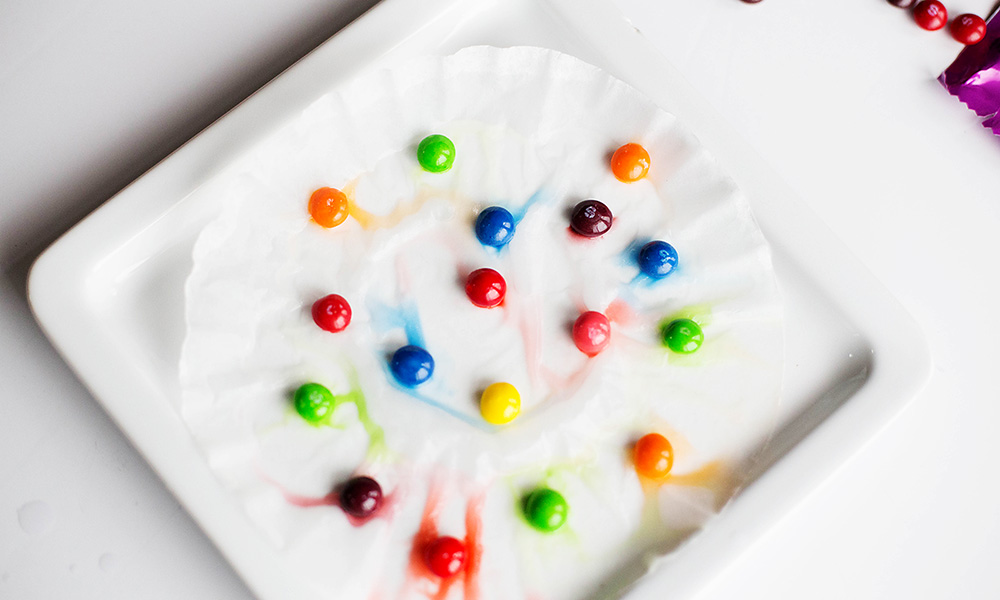
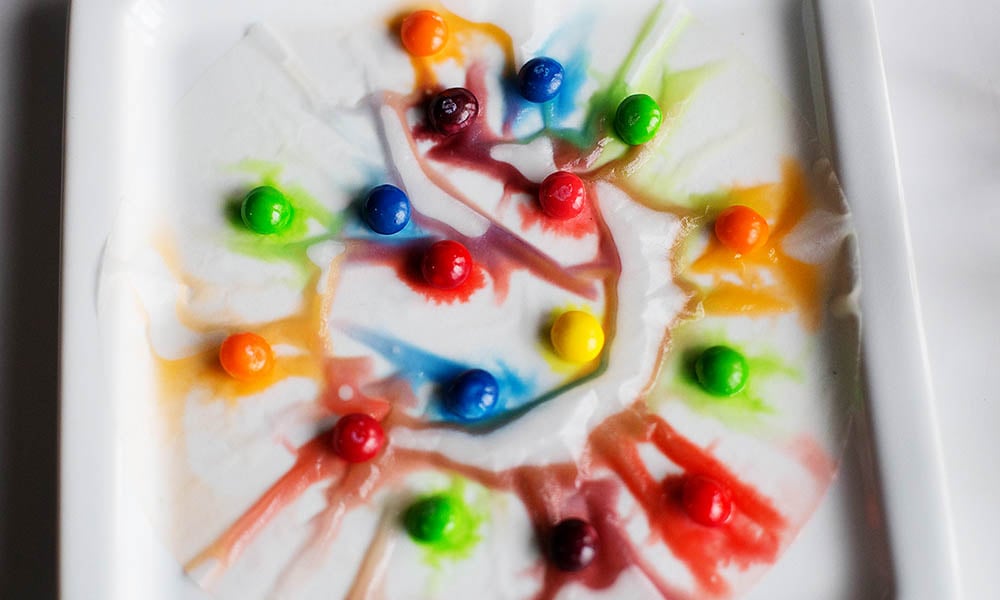
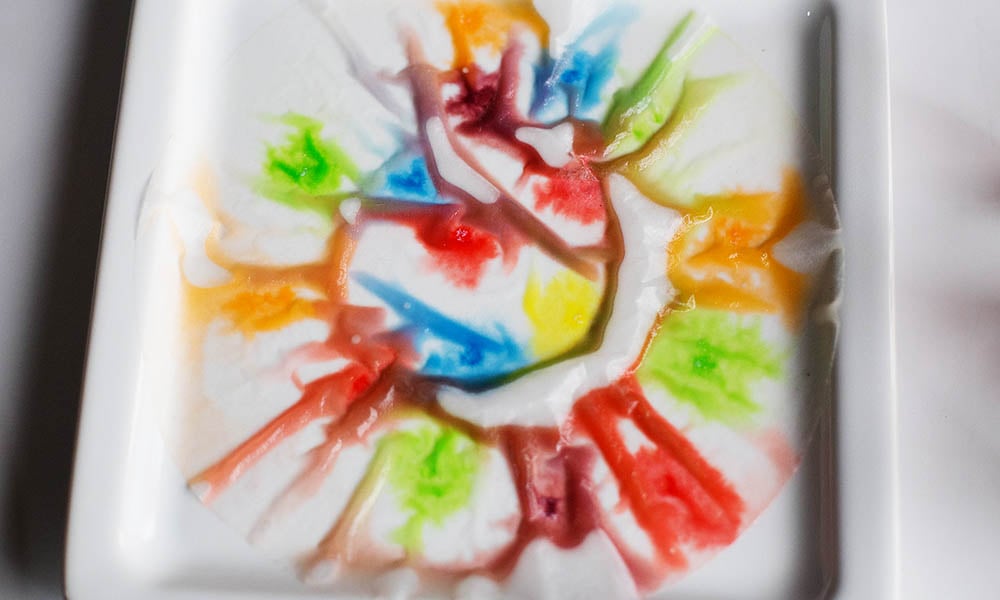
The color will again dissolve from the candy and this time absorb into the coffee filter. Remove from the plate and allow to dry. Did the colors mix?
Then take it further by trying some other things. Use salt water or warm water. Does salt water change the results? Does changing the temperature of the water to warm water change the results?
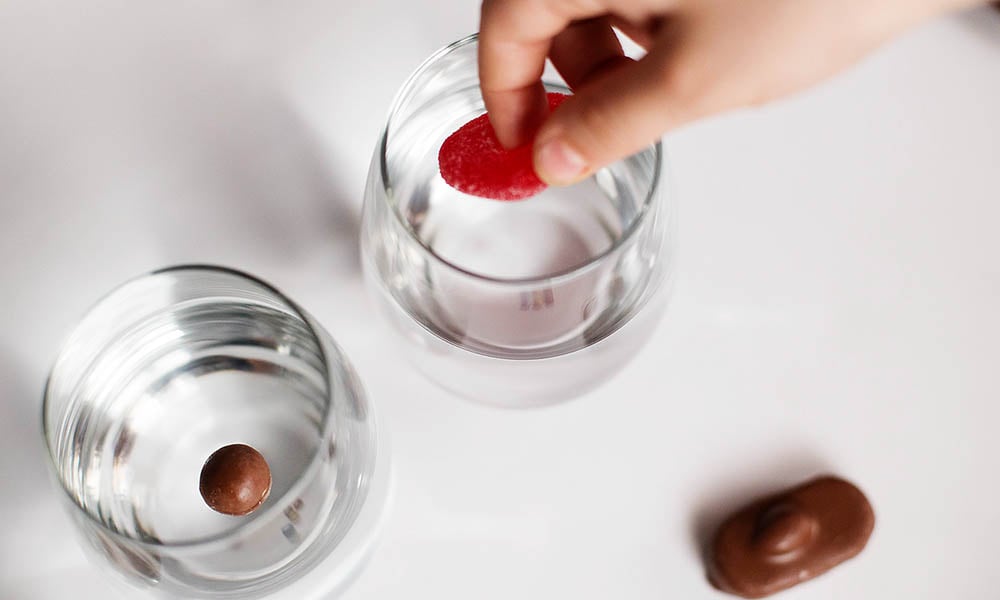
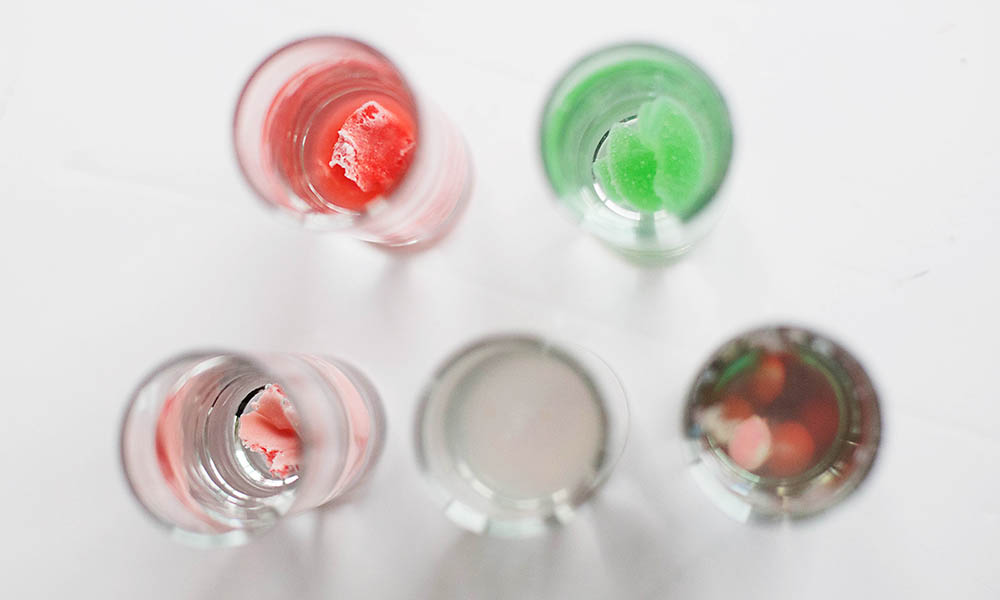
What about those chocolate candies? An easy, fun experiment you can do with your kids is to determine which candies will sink and which will float. Ask your kids why they predicted each outcome.

Then, after you conduct your experiment talk about why each candy sank and why some of them floated. Are there pockets of air in the candy? Don’t stop with chocolate, add in any kind of candy you find around the house to the experiment!
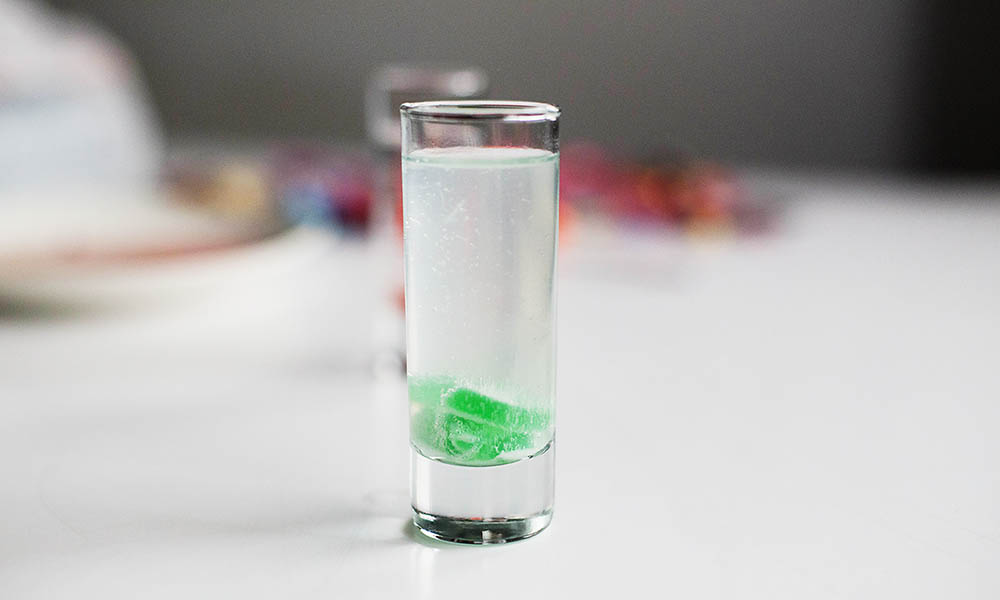
How about some bubbling action? You can use baking soda to determine if your candy is acidic. Start by placing candy in a bit of water and allow it to soak for a bit. Crush it up if it needs to be. Or try the experiment with both, using the same type of candy crushed and whole to see the difference.
Then, add a small spoonful of baking soda.
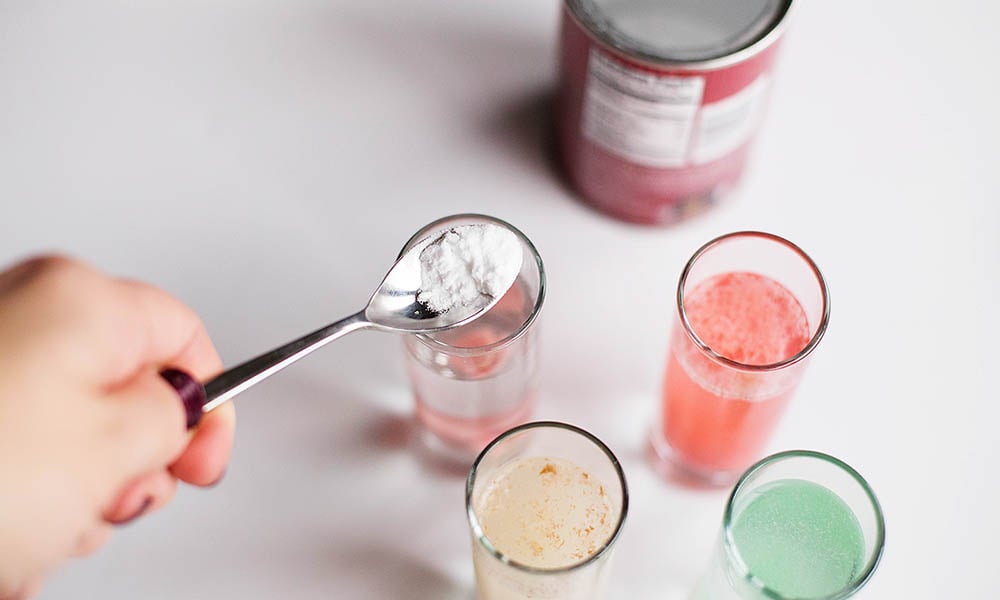
Do you see any bubbles forming? If there are any bubbles, the candy is somewhat acidic. Sour candies usually produce the most bubbles! The acid in the candy reacts with the baking soda to create carbon dioxide gas (which is why you see bubbles). You won’t get the same reaction you do when using baking soda with vinegar, but you’ll definitely see some reaction with the more sour types of candy.
Like these experiments or want to find some more? Check it out here! Or if you would like to look at some of our other adventures while homeschooling with Bridgeway Academy, check out my blog here.